Table of Contents
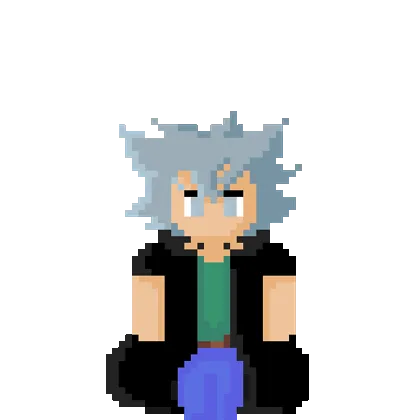
Introduction to Pixel Art
Pixel art is a form of digital art created by placing individual pixels in a way that resembles the aesthetics of 8-bit or 16-bit games. Even with modern technology, pixel art remains popular for its retro charm and for the unique restrictions it places on size and color palettes.
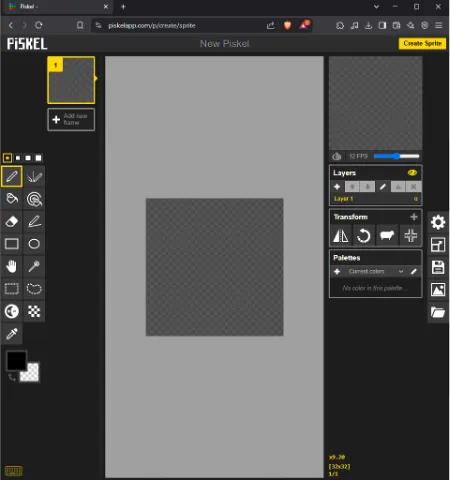
Getting Started with Piskel
Piskel is an online application designed for creating pixel art and sprites. Its intuitive interface and straightforward tools make it an excellent place to begin exploring pixel art.
If you’re looking for an alternative, Pixelorama is another great option.
Piskel Tools Overview
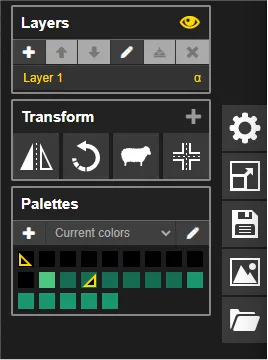
Below are some essential tools you’ll find in Piskel:
- Pen Tool – Basic brush for freehand pixel drawing.
- Paint Bucket – Fills a continuous area with the selected color.
- Eraser – Removes pixels, acting as a basic erasing tool.
- Rectangle Tool – Draws rectangles of any size.
- Move Tool – Moves selected parts of the drawing around the canvas.
- Rectangle Selection – Selects a rectangular area for editing or moving.
- Lighten Tool – Lightens or darkens an area with brush strokes.
- Color Picker – Selects a color from the canvas to add to your palette.
- Vertical Mirror Pen – Mirrors brush strokes across the y-axis for symmetrical designs.
- Paint Bucket (Fill Similar Colors) – Fills all pixels of the same color in the canvas with a new color.
- Stroke Tool – Draws straight lines between two points.
- Circle Tool – Creates perfect or elliptical circle shapes.
- Shape Selection – Selects a continuous colored area for editing or moving.
- Lasso Selection – Allows freeform selection of any area, regardless of shape.
- Dithering Tool – Applies a pixelated shading effect for smoother gradients and textures.
Color in Pixel Art
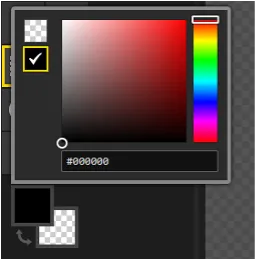
Color choices in pixel art can drastically affect your final design.
Shifting Tones
- Darker colors tend to shift toward the blue spectrum.
- Lighter colors lean closer to the yellow spectrum.
This subtle shift can add more depth to your shading and make your sprite more visually interesting.
Line Style
When drawing lines in pixel art, you’ll notice they can appear thicker than usual. Here are some pointers:
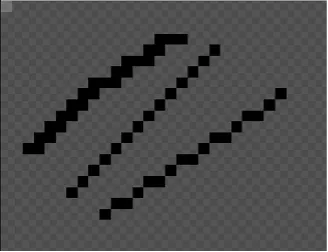
- Avoid sharp corners: Single-pixel corners can make lines look bulky.
- Experiment with styles: Some art styles use these “bulky” corners intentionally for a bold look.
- Stay consistent: If you choose a particular line style, apply it throughout your artwork.
Activity: Creating Your First Sprite
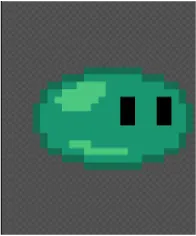
Let’s make a simple slime sprite to get you started!
- Choose a base color: Select a bright color for your slime.
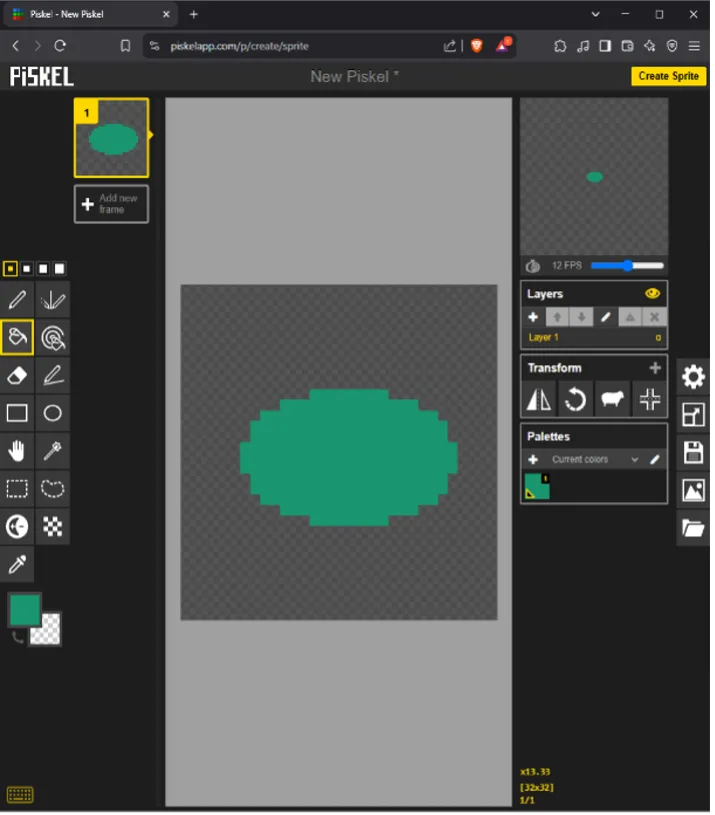
- Draw a circle: Use the Pen or Circle Tool to create a rough circular shape.
- Fill the circle: Use the Paint Bucket to fill it with your chosen color.
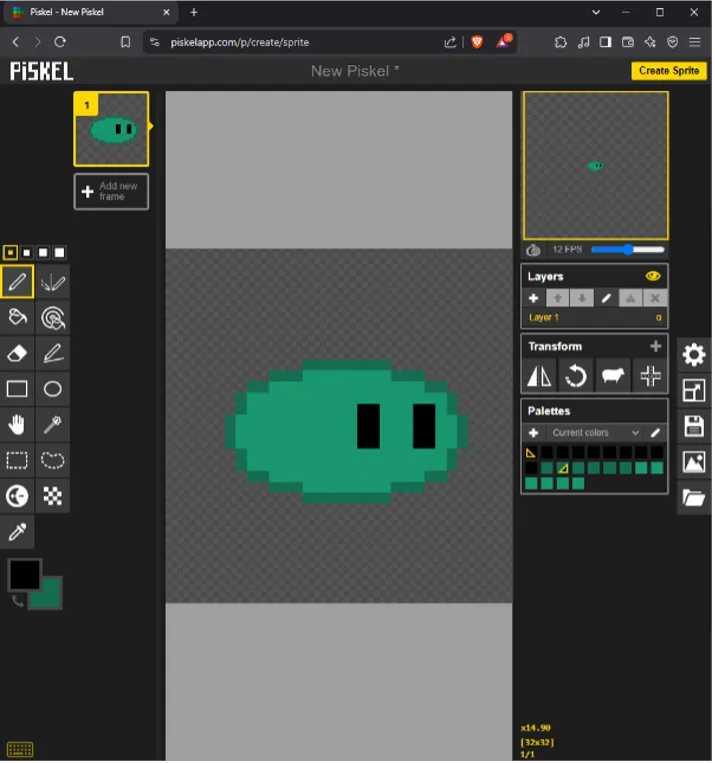
- Add an outline: Pick a darker shade (or black) and outline the slime to give it definition.
- Draw eyes: Switch to black or another dark color to create two simple eyes.
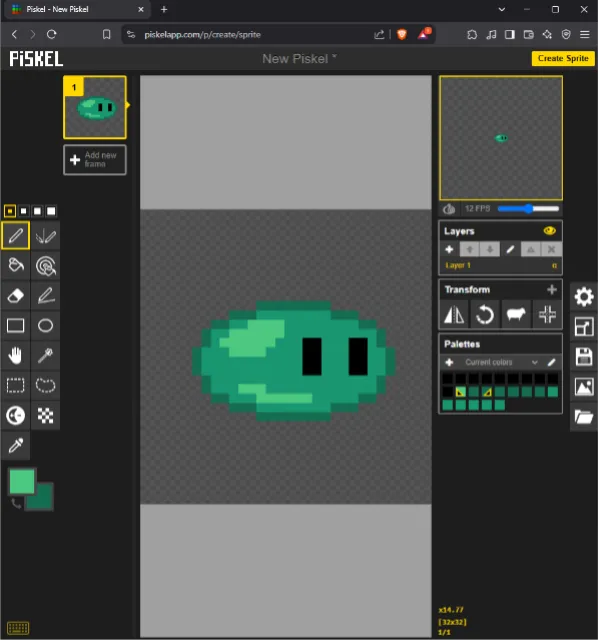
- Highlight & shade: Use slightly lighter and darker tones of your base color to give the slime a 3D look.
Animating Your Pixel Art
Pixel art animation involves drawing each frame to simulate movement. Each new frame is a small change from the previous one, creating the illusion of motion when played in sequence.
Key Aspects of Pixel Art Animation
- Frame-by-Frame Movement: Manually drawn frames ensure control over every detail.
- Keyframes & In-Between Frames: Major poses vs. minor transitions.
- Limited Frames: Embrace a retro aesthetic or keep animations simple.
- Subtle Changes: Even tiny pixel shifts can create expressive, fluid animations.
- Consistent Color & Shading: Keep your palette and shading style consistent across frames.
Activity: Simple Slime Animation
Let’s animate our slime with a simple “bounce” effect:
- Duplicate the frame: In Piskel, hover over your frame and select “Duplicate.”
- Select & move: Use the Rectangle Selection tool to select the top half of the slime. Press Shift as you drag it up or down.

- Fill gaps: Fill any missing areas with the appropriate colors.
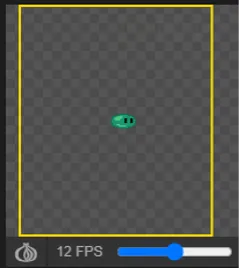
- Preview: Check the animation on the top-right preview panel. Adjust the FPS (frames per second) to control speed.
Exporting Your Animation
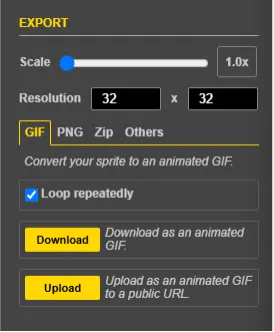
In Piskel, you can export your animation as a GIF or PNG sequence:
- Click the export icon on the right edge of the screen.
- Download the GIF or generate a URL to share it online.
- Use the scale slider if you want a larger or smaller final image.
Final Thoughts
Pixel art offers a fun, approachable way to learn about color, shading, and animation—without the complexity of larger-scale digital illustrations. By practicing simple shapes, experimenting with color shifts, and creating basic animations, you’ll gain a strong foundation in this retro-inspired art form.
🎨 Next Steps?
- Experiment with different sprites: characters, objects, or environment tiles.
- Add more frames to your animation for smoother motion.
- Try out dithering for shading and texture variations.
Post by: Mauricio Rojo