P5.JS [0]: Introduction to creative coding
/ 4 min read
Table of Contents
What Is Creative Coding?
Creative coding is the practice of using code as a tool for artistic expression. Unlike traditional programming, which focuses on solving problems or building applications, creative coding is about making visuals, animations, and interactive art.

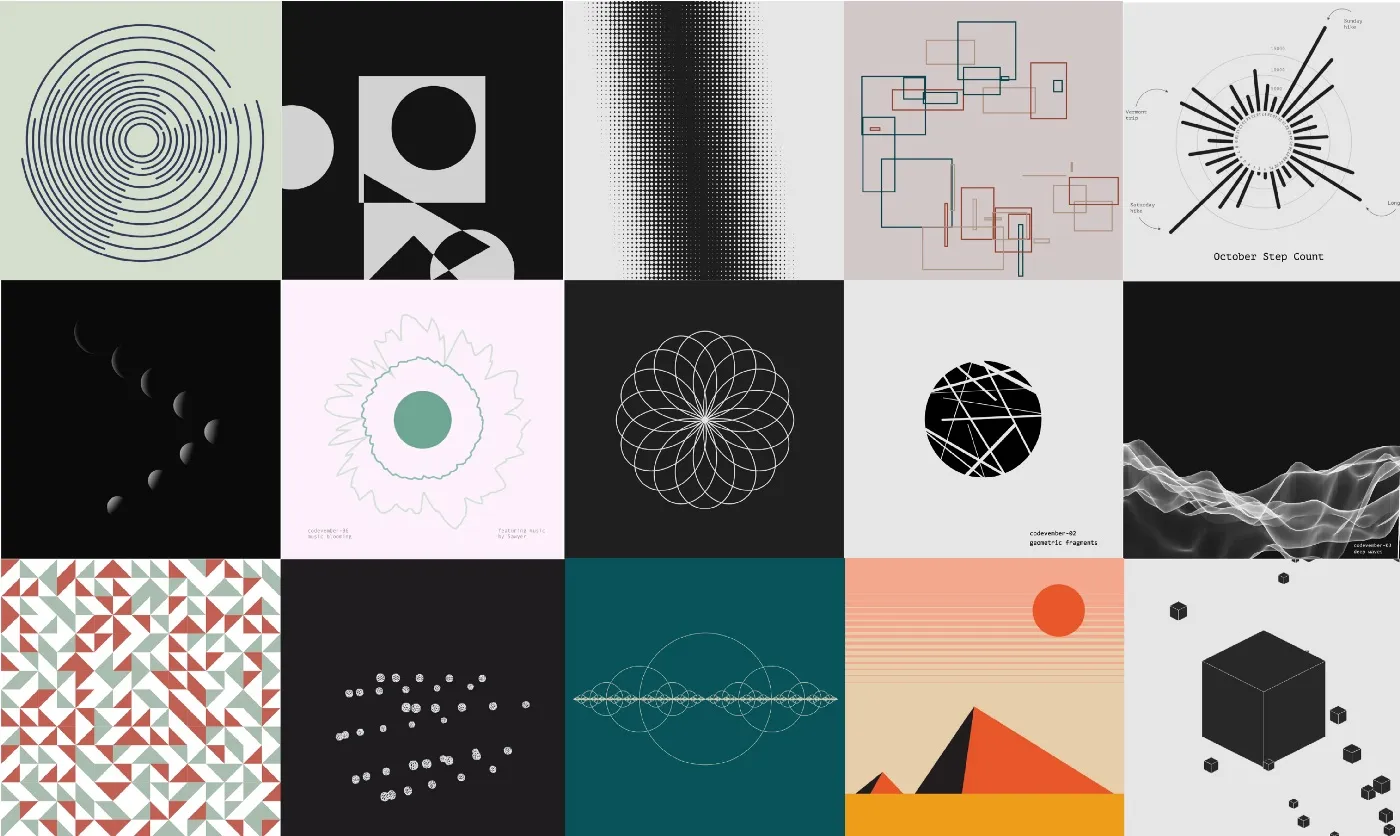
Some things you can create with creative coding:
- Digital art and generative patterns
- Animations and interactive sketches
- Music visualizations
- Web-based games and interactive experiments
What Is p5.js?
p5.js is a JavaScript library that makes it easy to create art and animations with code. It allows you to draw shapes, add colors, animate objects, and respond to user input—all directly in a web browser.
Why p5.js?
- Beginner-friendly: No need to install anything—just start coding in the browser.
- Interactive & real-time: See your code change instantly.
- Great for artists: Designed for creative projects, not just technical programming.
Getting Started: Your First p5.js Sketch
Start Coding Now!
You don’t need to install anything to try p5.js—just visit the p5.js Web Editor and start writing code! 🚀
To begin, let’s create a simple drawing using p5.js. Every p5.js project has two important functions:
setup()– Runs once at the start to set up the canvas.draw()– Runs repeatedly to update the screen.
Here’s how to draw a circle:
function setup() {  createCanvas(400, 400); // Set up a 400x400 pixel canvas}
function draw() {  background(220); // Light gray background  ellipse(200, 200, 100, 100); // Draw a circle at (200, 200) with a size of 100}
Breaking It Down:
createCanvas(400, 400)– Makes a 400x400 pixel area to draw on.background(220)– Sets a light gray background.ellipse(200, 200, 100, 100)– Draws a circle at(200, 200)with a width and height of100.

Understanding Variables: Storing Values
In coding, a variable is like a container that holds a value. Instead of writing numbers directly, we can store them in variables and use them later.
let circleX = 200; // Store the x position of the circlelet circleY = 200; // Store the y position of the circle
function setup() {  createCanvas(400, 400);}
function draw() {  background(220);  ellipse(circleX, circleY, 100, 100); // Use variables to position the circle}
Now, instead of 200, we use circleX and circleY. This makes our code easier to modify.
Making Things Move: Updating Variables
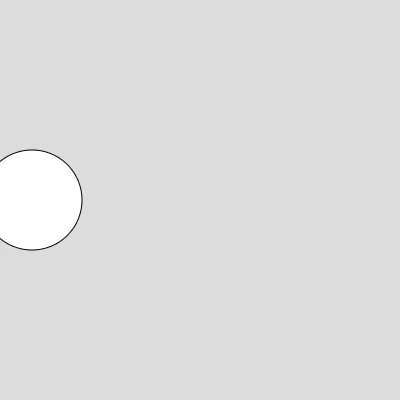
To make something move, we change a variable over time. Let’s make the circle move across the screen.
let circleX = 0; // Start at the left side
function setup() {  createCanvas(400, 400);}
function draw() {  background(220);  ellipse(circleX, 200, 100, 100); // Use circleX for position
  circleX = circleX + 2; // Increase x position every frame}
How It Works:
- The variable
circleXstarts at0(left side of the screen). - Each frame, we add 2 to
circleX, moving the circle to the right. - The
draw()function runs 60 times per second, making the motion smooth.

You can print values to the console using console.log().
For example, in sketch.js, you can log the circleX variable inside the draw() function like this:
function draw() {  console.log(circleX)}
## Making Interactive Art: Using the Mouse
p5.js has built-in variables like `mouseX` and `mouseY` that track the mouse position. Let’s use them to make our circle **follow the mouse**:
```javascript title="sketch.js"function setup() {  createCanvas(400, 400);}
function draw() {  background(220);  ellipse(mouseX, mouseY, 100, 100); // The circle follows the mouse}
Now, the circle will always be where your mouse is!
Colors and Customization
You can customize colors using fill() (for shape color) and stroke() (for outlines):
function setup() {  createCanvas(400, 400);}
function draw() {  background(0); // Black background  fill(255, 0, 0); // Red color  stroke(255); // White outline  ellipse(200, 200, 100, 100);}
fill(r, g, b)– Sets the color of shapes (red, green, blue).stroke(r, g, b)– Sets the outline color.
What’s Next?
You’ve just scratched the surface of creative coding with p5.js! Here’s what you can explore next:
👉 Understanding Shapes and Colors in p5.js
Post by: Gabriel Alonso